Homeowner Guide
Not every garage door problem requires a technician. Every year, homeowners spend hundreds of dollars on service calls for issues they could have identified — and sometimes fixed — in less than 10 minutes.
This guide walks through the most common garage door problems homeowners run into, what you can safely check yourself, and which repairs should always be left to a trained professional. Think of it as a pre-call checklist: run through these first, and if the issue is still there, you'll already know exactly what to tell your garage door technician when you call.
One of the most common reasons a garage door won't close is something surprisingly simple: an obstruction or misaligned safety sensor. Before you assume the worst, take a minute to check:
Something as ordinary as a broom leaning in the wrong spot can block the sensor beam and stop your door from closing entirely.
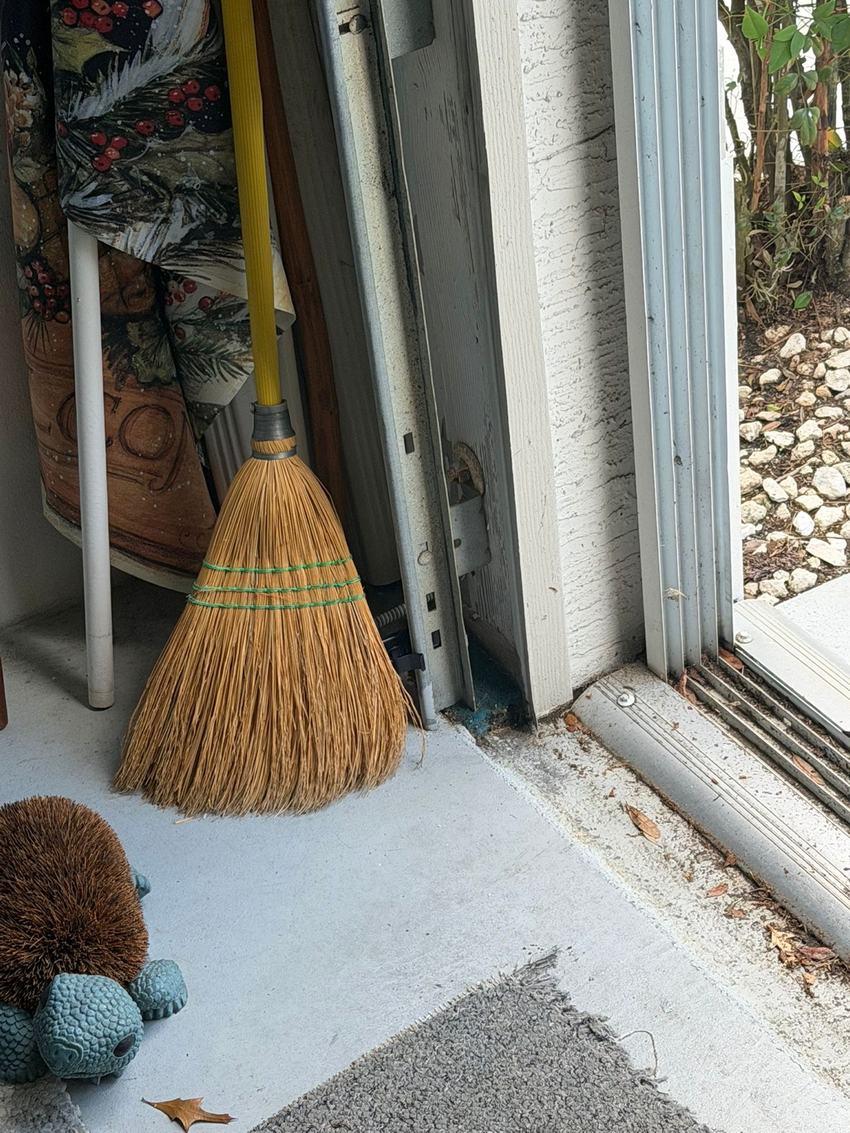
It doesn't take much to block a sensor beam — even something as harmless as a broom propped against the wall can be enough. Before calling for service, walk the length of both tracks and clear anything sitting near sensor height.
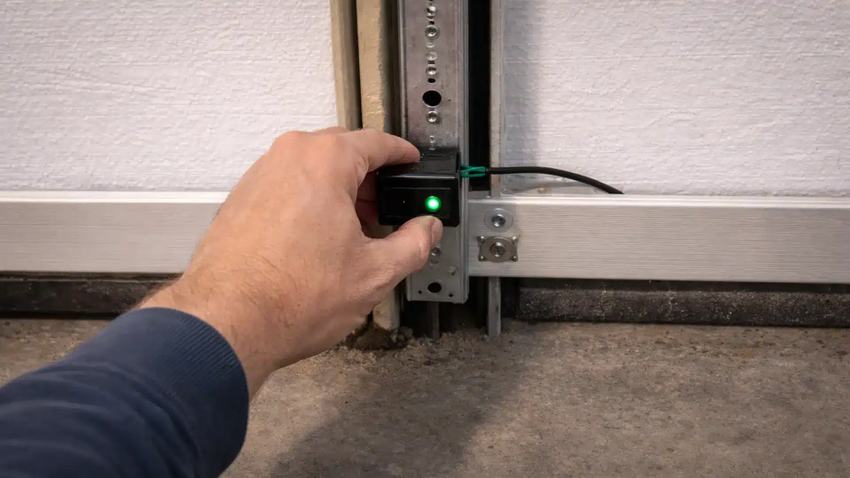
Gently make sure each sensor bracket is snug and hasn't been bumped out of position — a stray basketball or a parked bike is a common culprit. A sensor that's even slightly knocked off angle can stop the door from closing.
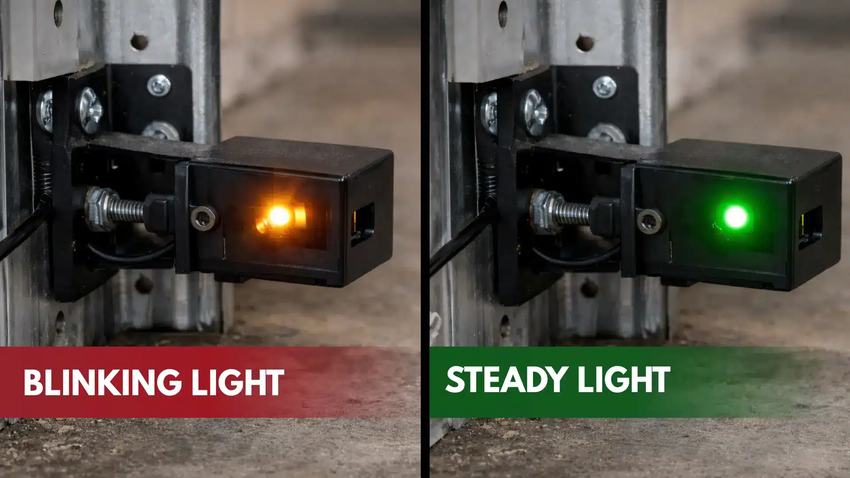
This is the fastest way to diagnose a sensor problem. The red light should always stay solid — that one doesn't change. The green light is the one to watch: it should also stay solid when the sensors are aligned and working, and it will blink or go out entirely if something is blocking the beam or the sensors are misaligned. If neither light is on at all, that usually points to a wiring issue, and it's best to call a technician rather than troubleshoot the wiring yourself.
Many homeowners unknowingly pay for a service call when the fix was something they could have handled themselves in under a minute. If your sensors are clean, aligned, and still not cooperating, that's a good sign it's time for a professional sensor repair.
A noisy garage door often doesn't need repairs — it just needs proper maintenance. Annual lubrication can dramatically cut down on noise and extend the life of several moving parts, including:
Use a lubricant made specifically for garage doors rather than heavy grease or general-purpose household oil — the wrong product can attract more dust and grime than it prevents.
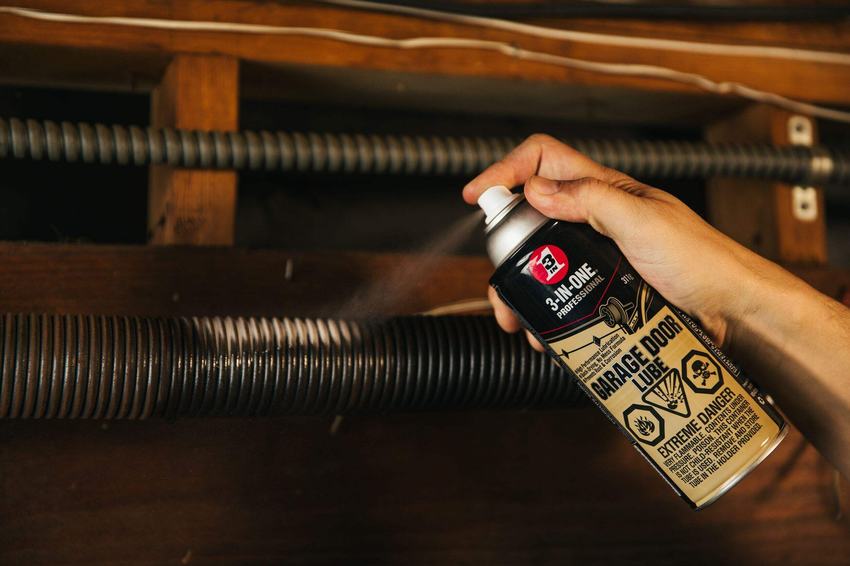
A light coat of garage door lubricant on the spring coils helps reduce friction and slows down rust — especially important if you're anywhere near the coast. A few seconds of spraying once a year is a small investment against a much bigger repair down the road.
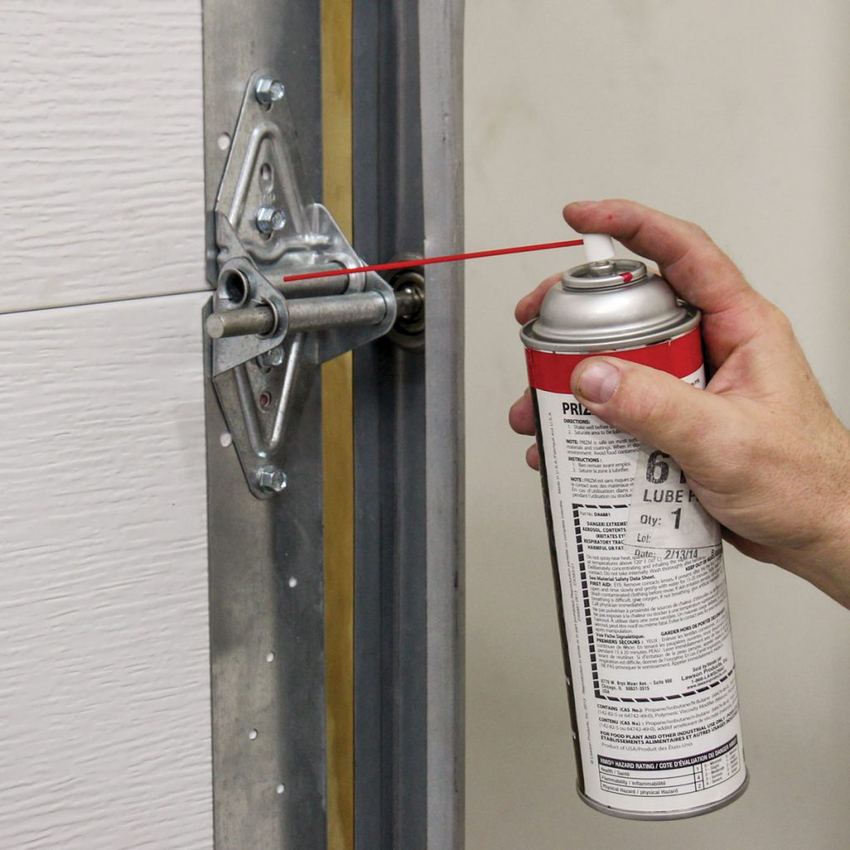
Each hinge bracket has a pivot point that benefits from a light spray, just like the rollers and springs. This is one of the simplest, safest maintenance tasks a homeowner can do — you're lubricating the outside of the hardware, not touching anything under tension.
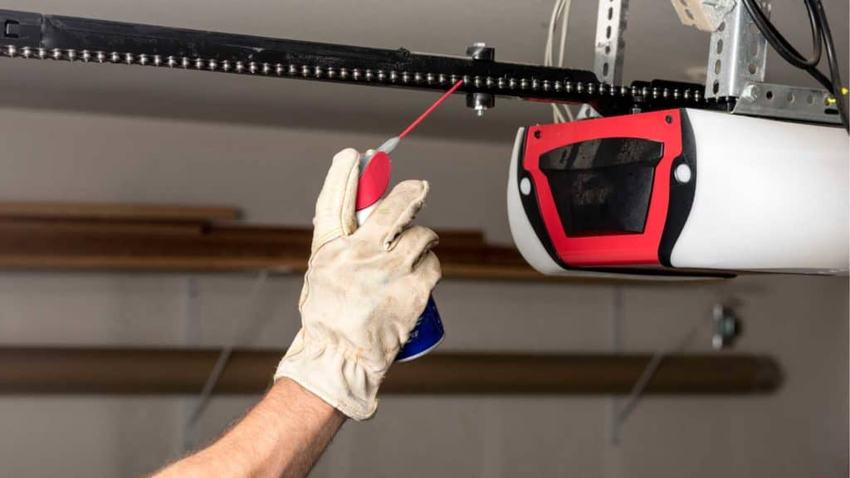
The chain or belt that runs along your opener's rail benefits from lubrication too — it's a common source of squeaking that's mistaken for a bigger problem. A quick spray here is often the fix for a noisy opener.
If your door has gotten louder over the past few months, a simple tune-up and lubrication is usually all it takes to quiet it back down.
A remote that's stopped working is rarely a sign of a bigger problem. Start with the obvious: replace the battery. If that doesn't solve it, most remotes can be reprogrammed in under a minute:
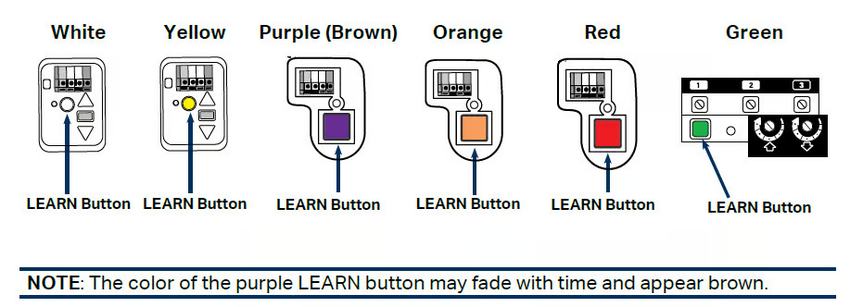
The Learn button's color varies by brand and model — white, yellow, purple, orange, red, or green — but it's always in a similar spot on the opener unit. Once you find it, the reprogramming process is nearly identical across brands like LiftMaster, Chamberlain, and Genie.
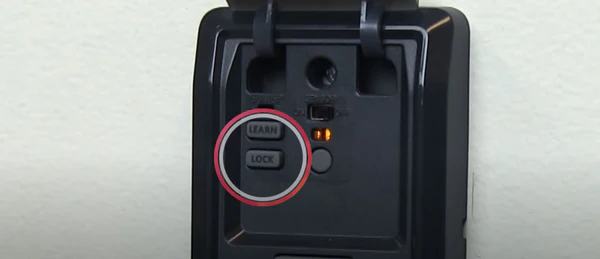
Most wall-mounted control panels also have their own Learn and Lock buttons, which come in handy if you're adding a remote, resetting your code, or locking out the exterior keypad while you're away.
Always follow your specific manufacturer's instructions, since minor steps can vary between models.
Before assuming your opener has failed, rule out the simplest explanation: it may have simply lost power. Check:
It's a surprisingly common call — a dead-looking opener that's simply unplugged or sitting on a tripped breaker.
Many modern openers come with detailed installation manuals, and some homeowners do successfully install them on their own. That said, it's important that the unit is assembled correctly, securely mounted to solid framing, and that every safety feature — including the auto-reverse system and travel limits — is properly adjusted and tested exactly as the manufacturer describes.
If you're not confident about getting the safety settings right, a professional garage door opener installation ensures everything is tested and working before the job is considered done.
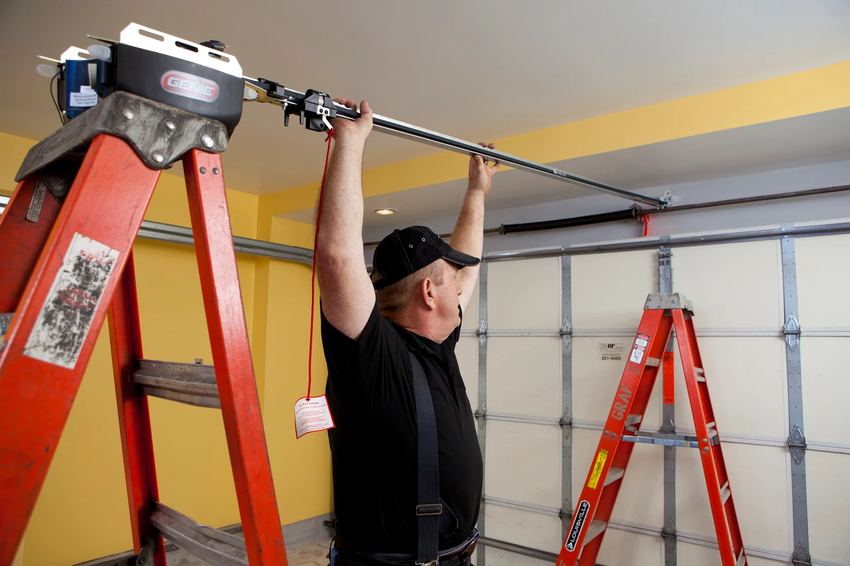
The rail has to be mounted level and securely anchored to the framing, not just the drywall. If the mount isn't solid, the whole system works harder than it should and can fail early — this is the part of a DIY install where it's easiest to run into trouble.
The rubber seal along the bottom of your door keeps out water, insects, and drafts — and it wears out faster than most people realize, especially in Florida's heat. Look for:
Replacing a worn bottom seal is one of the more approachable DIY projects on this list, and new seals are inexpensive relative to the protection they provide.
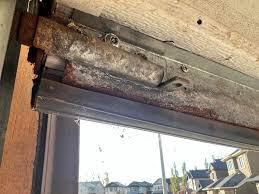
Once the retainer or the rubber itself starts rusting and cracking like this, it's no longer doing its job. This is exactly the kind of wear that lets water and pests in — and it's a straightforward, inexpensive swap.
Years of daily vibration loosen bolts, hinges, and brackets little by little. Walk the door and tighten anything that's accessible and clearly not connected to spring tension. That last part matters — never loosen or adjust any hardware connected to springs or cables. If a bolt near a spring or cable looks loose, that's a job for a technician, not a wrench.
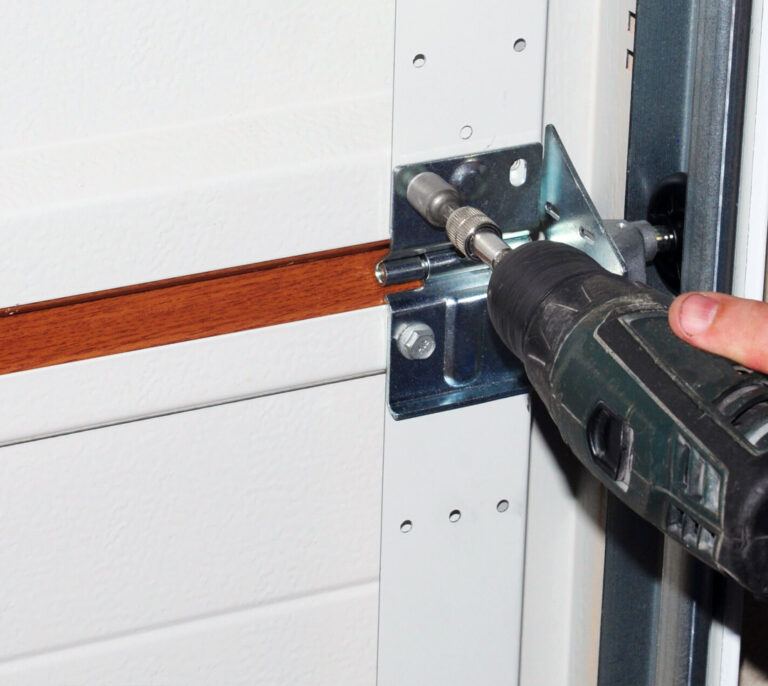
Numbered hinges like this one are easy to access and safe to tighten yourself — just make sure the screws are seated in solid material and not stripped out. If a hinge bracket is cracked or badly worn rather than just loose, that's a simple part swap for a technician.
Unusual sounds are often the very first warning sign of a developing problem. Pay attention to:
None of these sounds should be ignored, even if the door still seems to be working fine.
Take a look at your rollers for cracks, flat spots, worn bearings, or a roller that's missing entirely. Worn rollers make the door noisier and put extra strain on the opener, which is why they're worth catching early.
A lot of people assume replacing rollers is always a simple DIY job — and for the rollers along the side tracks, it often is. But the bottom roller is a different story. It's attached to the bottom bracket, which is directly connected to cables under spring tension. Removing the wrong roller can:
We get calls regularly from homeowners who removed the bottom roller themselves and ended up with a door that jumped its track. If you suspect the bottom roller needs attention, that's the point to call for a professional roller replacement rather than continue on your own.
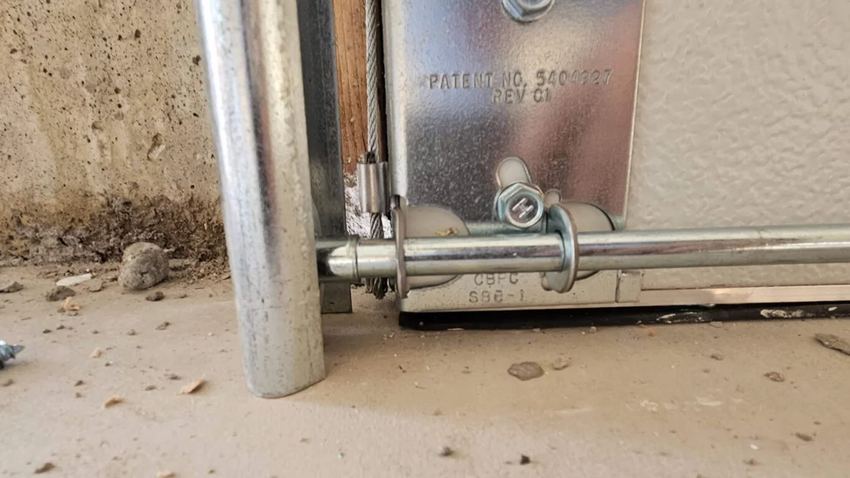
See how the cable feeds directly into this bracket? That cable is under real tension from the spring system above. This is exactly the hardware we mean when we say don't touch the bottom roller — loosening this bracket can release that tension without warning.
Some repairs should never be attempted without the right tools, training, and experience — not because they're difficult to understand, but because the components involved are under extreme tension and can cause serious injury or major damage if handled incorrectly. Never attempt to DIY:
If your issue falls into any of these categories, the safest and most cost-effective move is a professional inspection rather than a DIY attempt.
Keep this list handy and run through it once a year to catch small issues before they turn into bigger ones:
The most common cause is a blocked or misaligned safety sensor. Check for obstructions and make sure both sensor lights are steady, not blinking, before assuming it's a bigger issue.
Most noise comes down to lubrication or worn rollers. A yearly lubrication routine resolves the majority of squeaking and grinding complaints.
Once a year is typically enough for most homes, though homes near the coast with more humidity and salt air may benefit from lubricating twice a year.
Many homeowners do, provided they follow the manufacturer's instructions closely and properly test all safety features, including the auto-reverse system, before regular use.
Locate the Learn button on your opener unit, press it, then press the button on your remote within the following seconds. Test the remote to confirm the pairing worked.
Usually an obstruction, dirty lens, or misalignment. Clean the lenses, remove anything blocking the beam, and check that both sensors point directly at each other.
Side rollers are generally safe for a confident DIYer to replace. The bottom roller is the exception — it's connected to spring-tensioned cables and should be left to a professional.
Yes. Torsion and extension springs are under extreme tension and can cause serious injury if mishandled. This is never a DIY repair.
Usually a bent track, a damaged roller, or uneven cable tension. Stop using the door and have it inspected — running an off-track door can cause further damage.
Any time springs, cables, bottom brackets, off-track doors, or bent tracks are involved. These jobs require the right tools and training to handle safely.
Run through these checks first, and if the problem involves springs, cables, bottom brackets, an off-track door, or anything that just doesn't feel safe to touch, that's exactly what we're here for. Elevate Garage Doors offers free estimates and fast response for homeowners throughout the Tampa Bay Area.